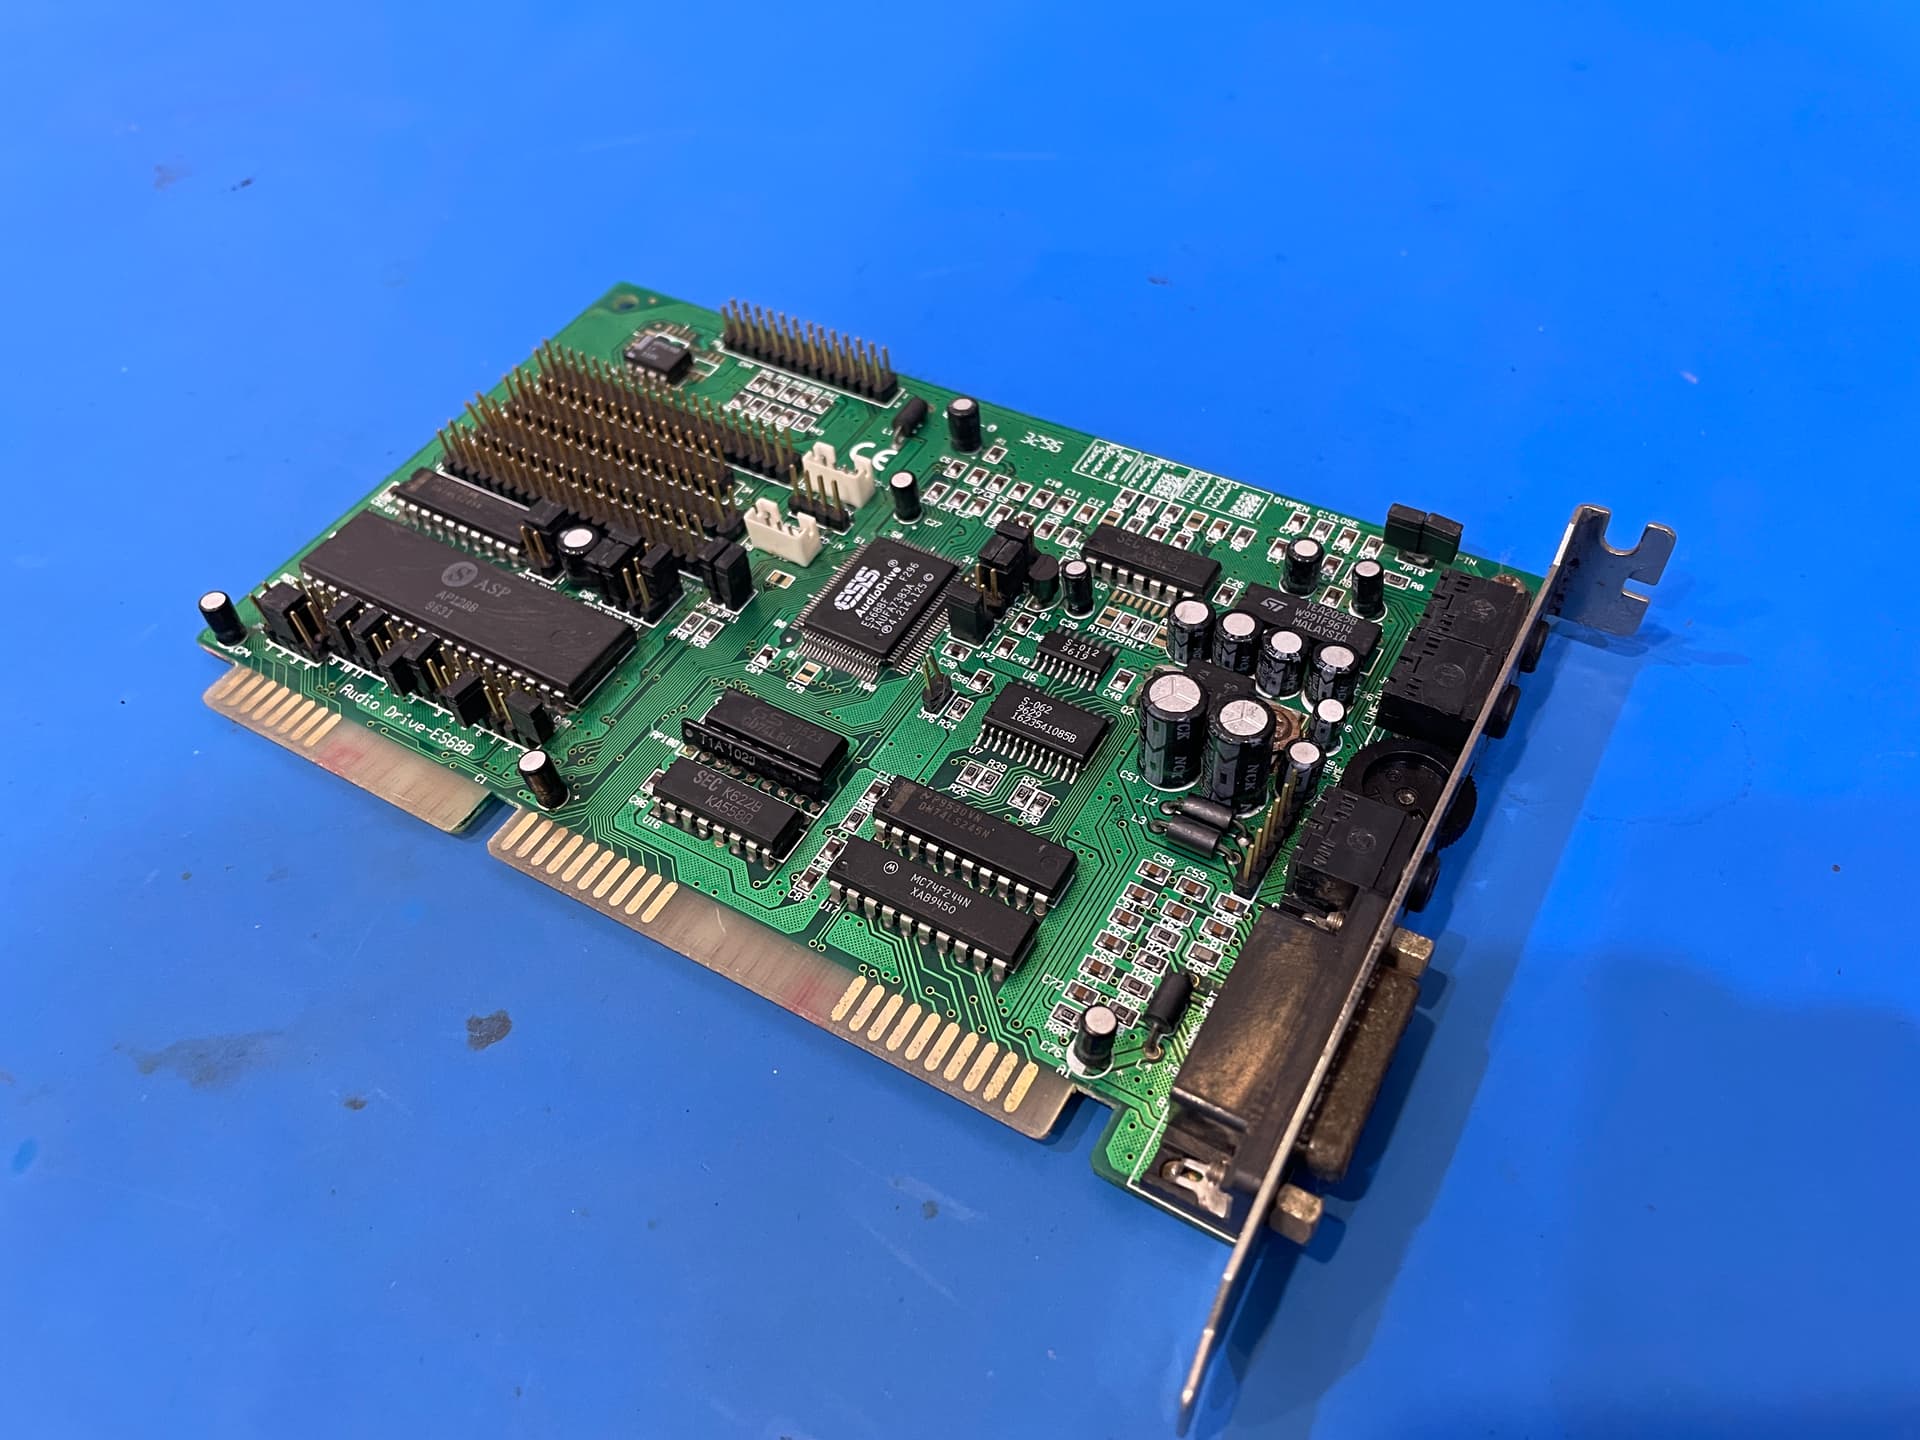
I’ve recently came into having one of these on loan. Noticed the capacitors are starting to bulge and we have a fair amount of corrosion and rust present. Checked with the owners and got the green-light to do some preventative maintenance.
I haven’t connected this card to anything so I don’t know if it works at all or has any secondary faults. If @SuperNick can get his Dasher 386 fired up for RetroChallenge 2022/10, this card might be able to work in it for enhanced audio beyond PC speaker sounds.
Conveniently, I have all the required capacitors on hand to rebuild this. We’re selecting mostly low ESR capacitors that fit the existing silk screen but are allowing for double height capacitors that should still stay within the confines of the card.
Here’s the action plan:
- Remove all jumpers after noting where they are.
- Clean the board with bicarbonate soda mixed with water to become a paste.
- Brush lightly around all the chips and components.
- Add vinegar the card to make it shine and remove the bicarb.
- Wash in tap water.
- Wash in a distilled water bath.
- Leave to dry for several days.
- Replace all capacitors.
- Add CRC 2-26 to the volume control wheel to remove static.
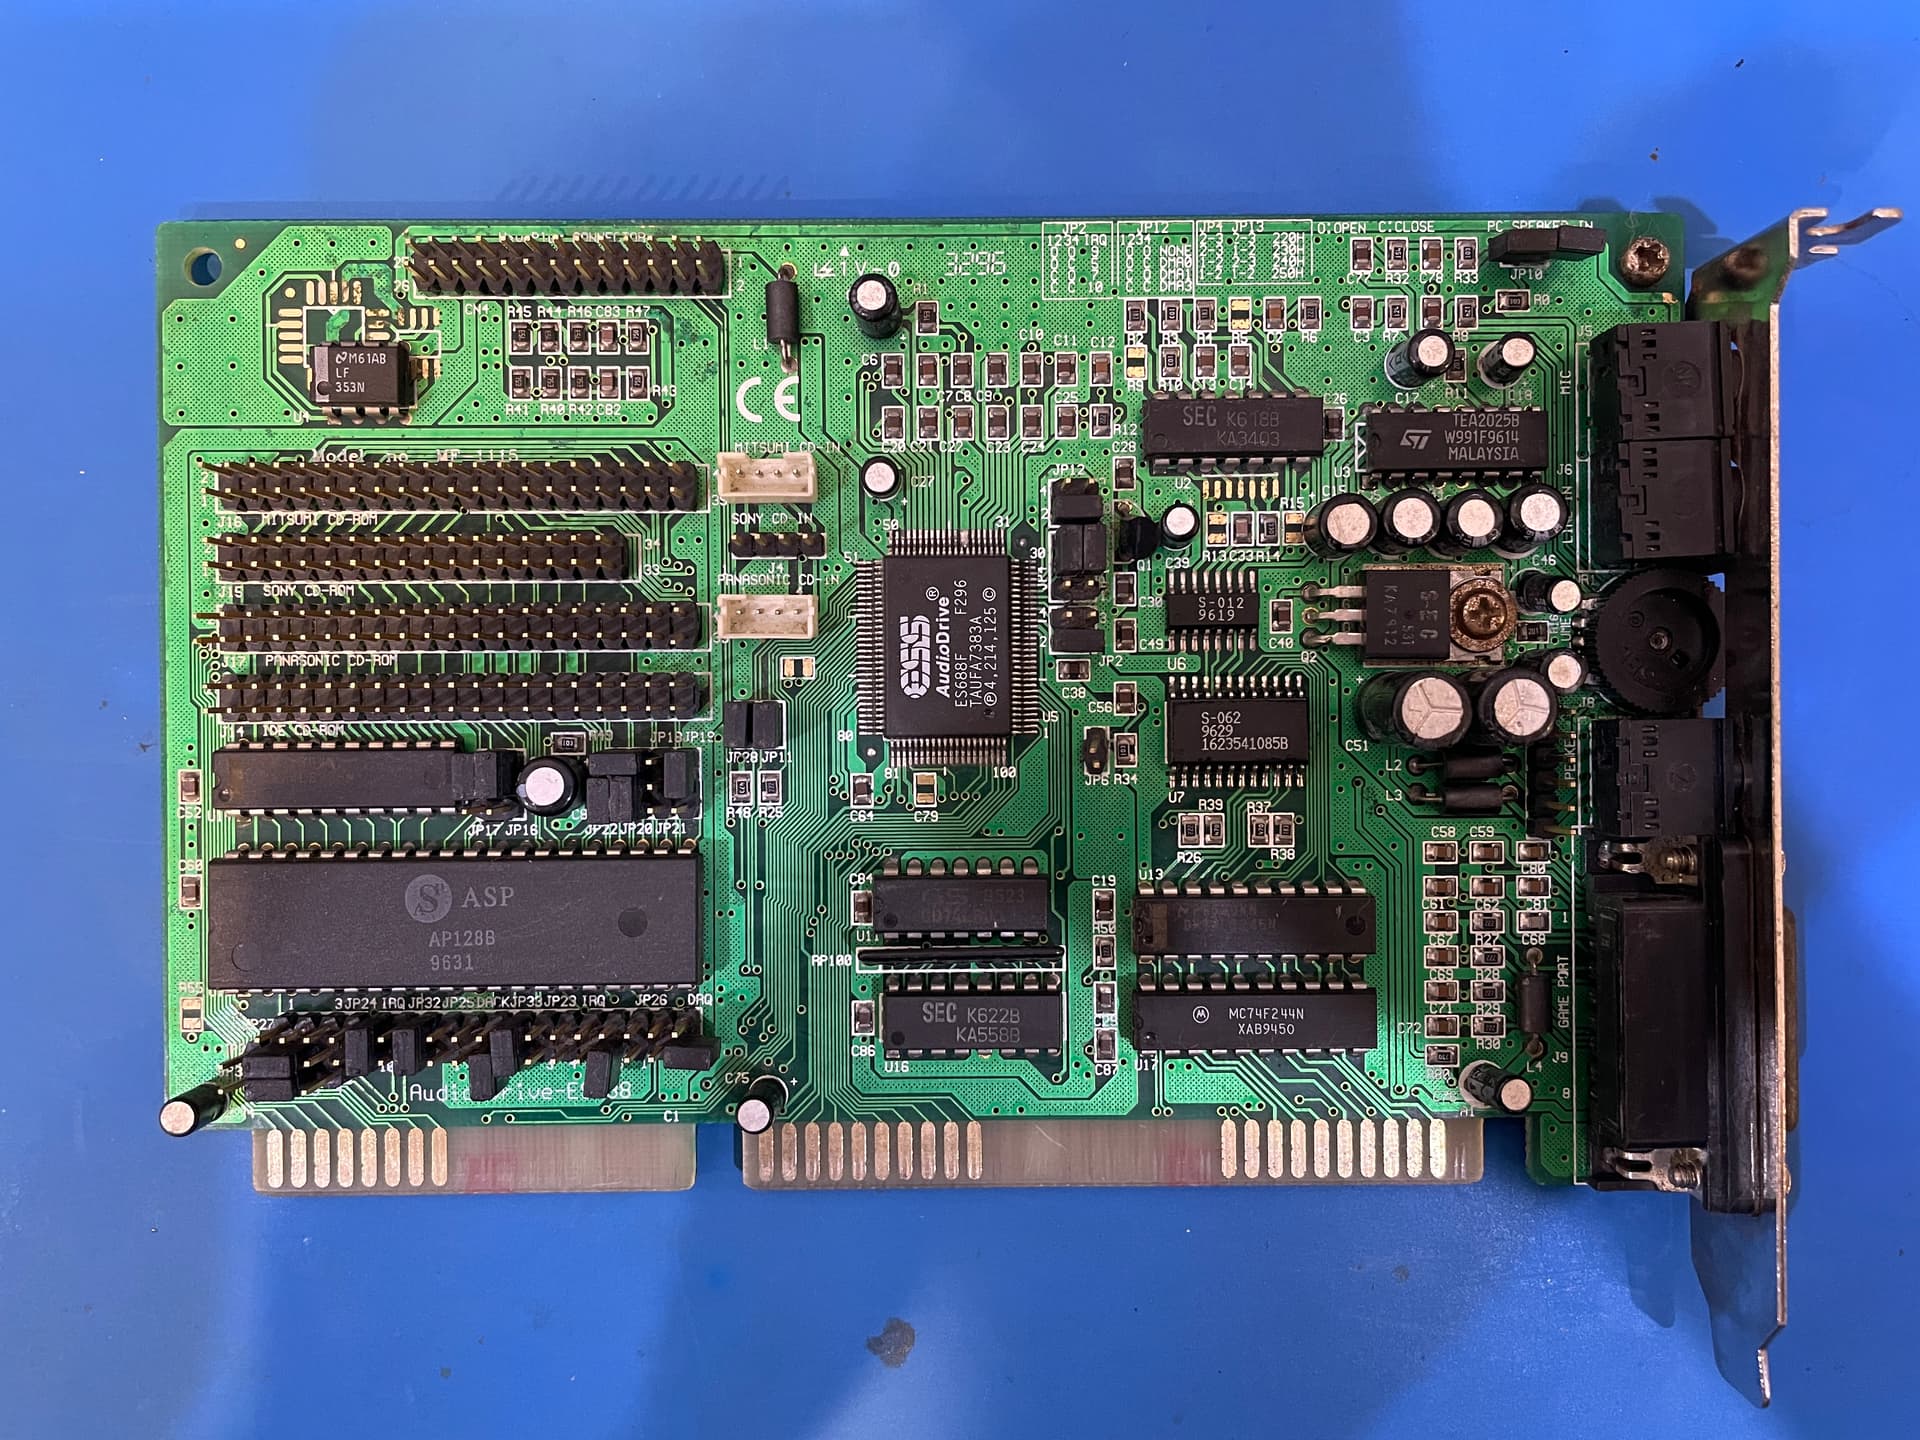
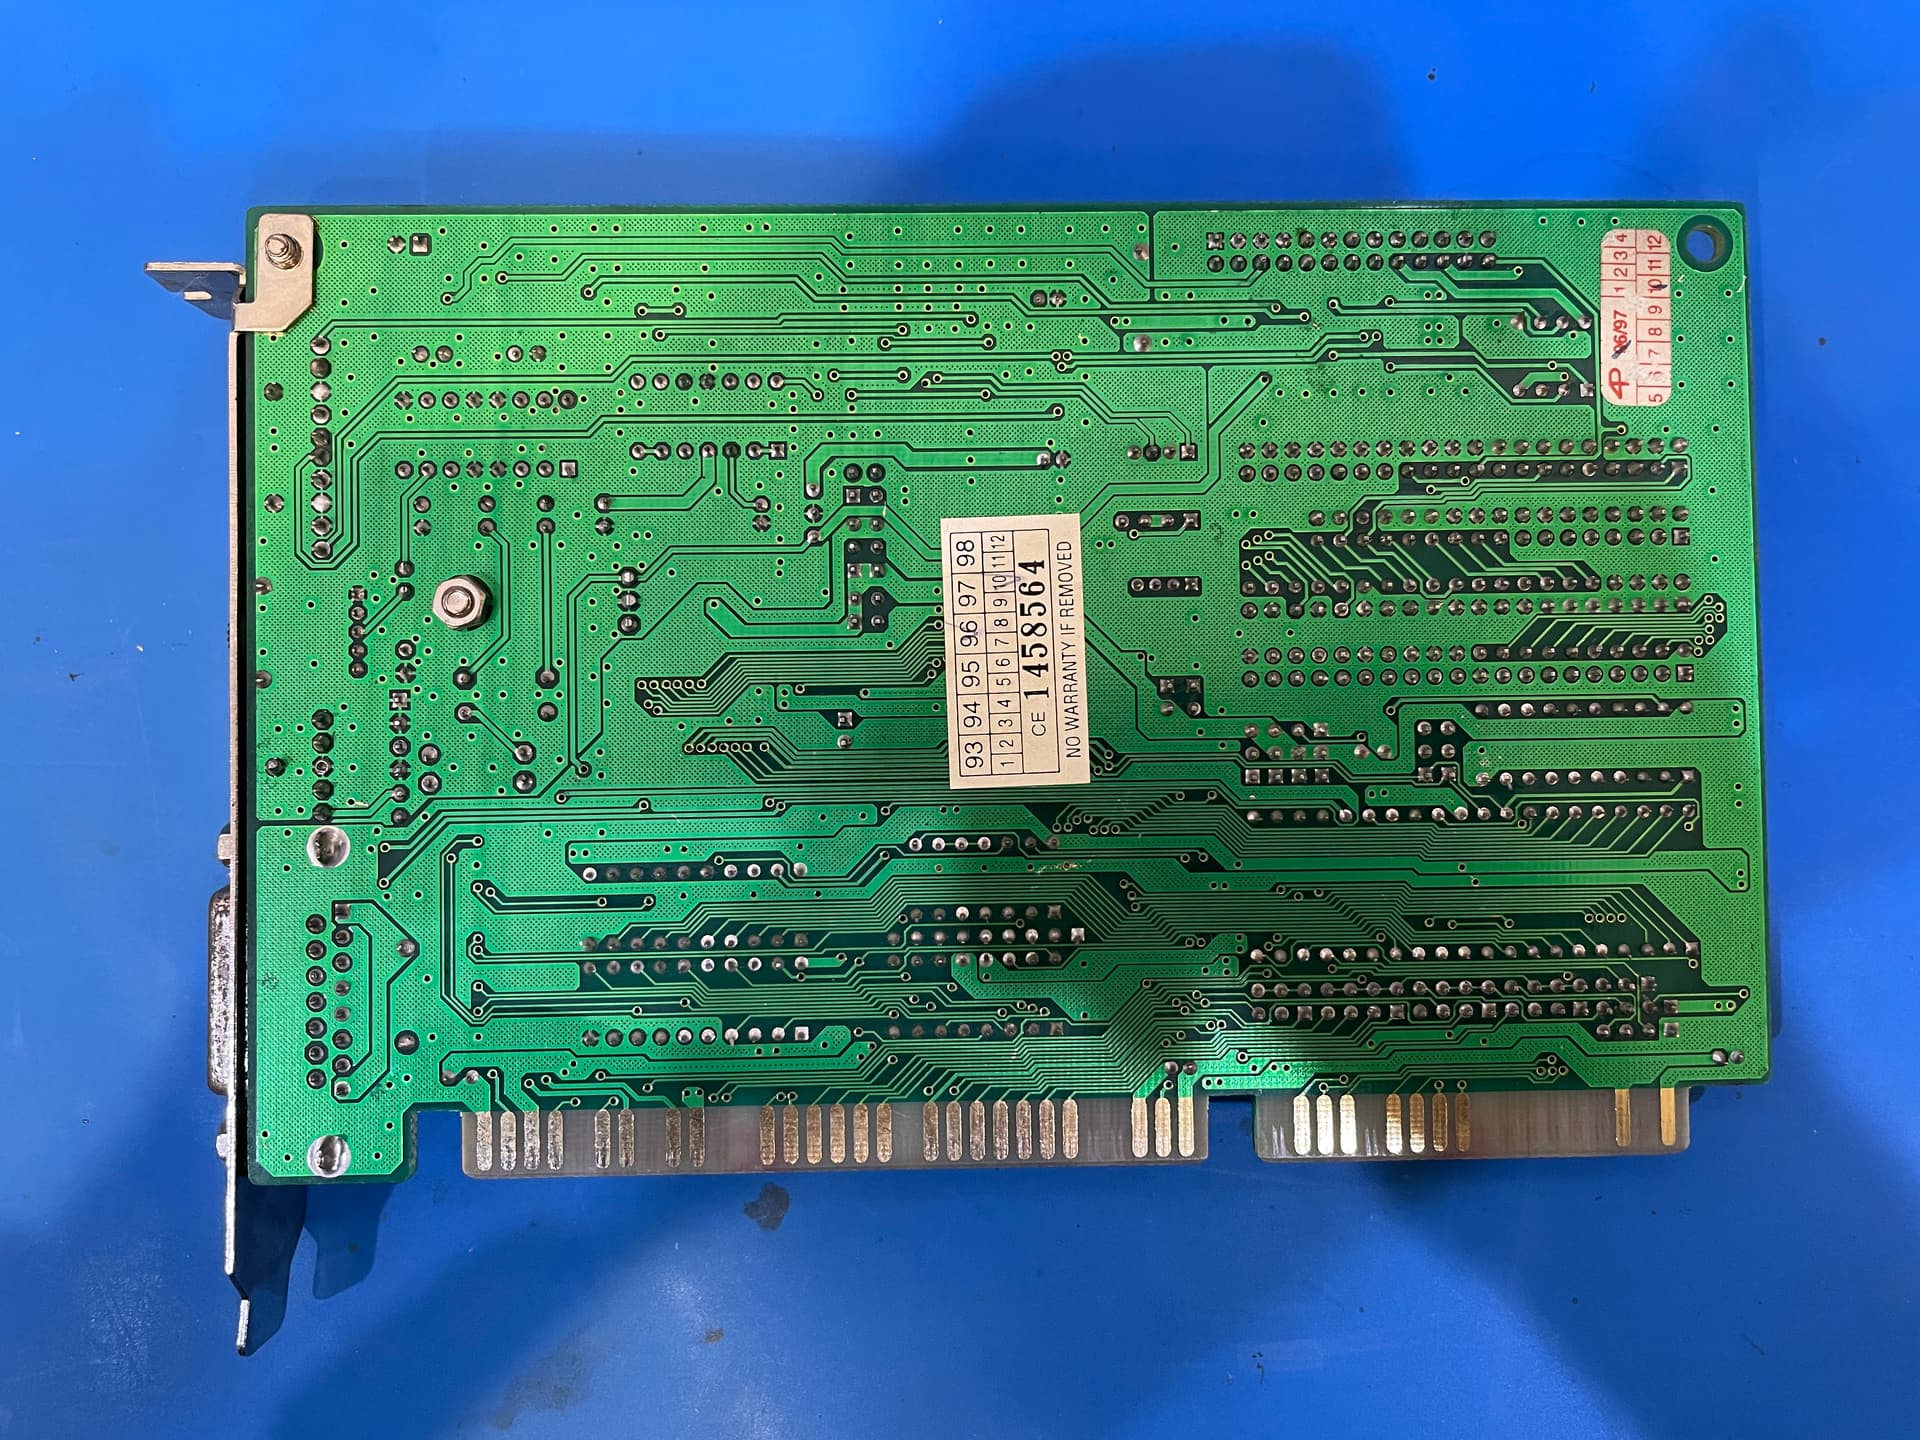
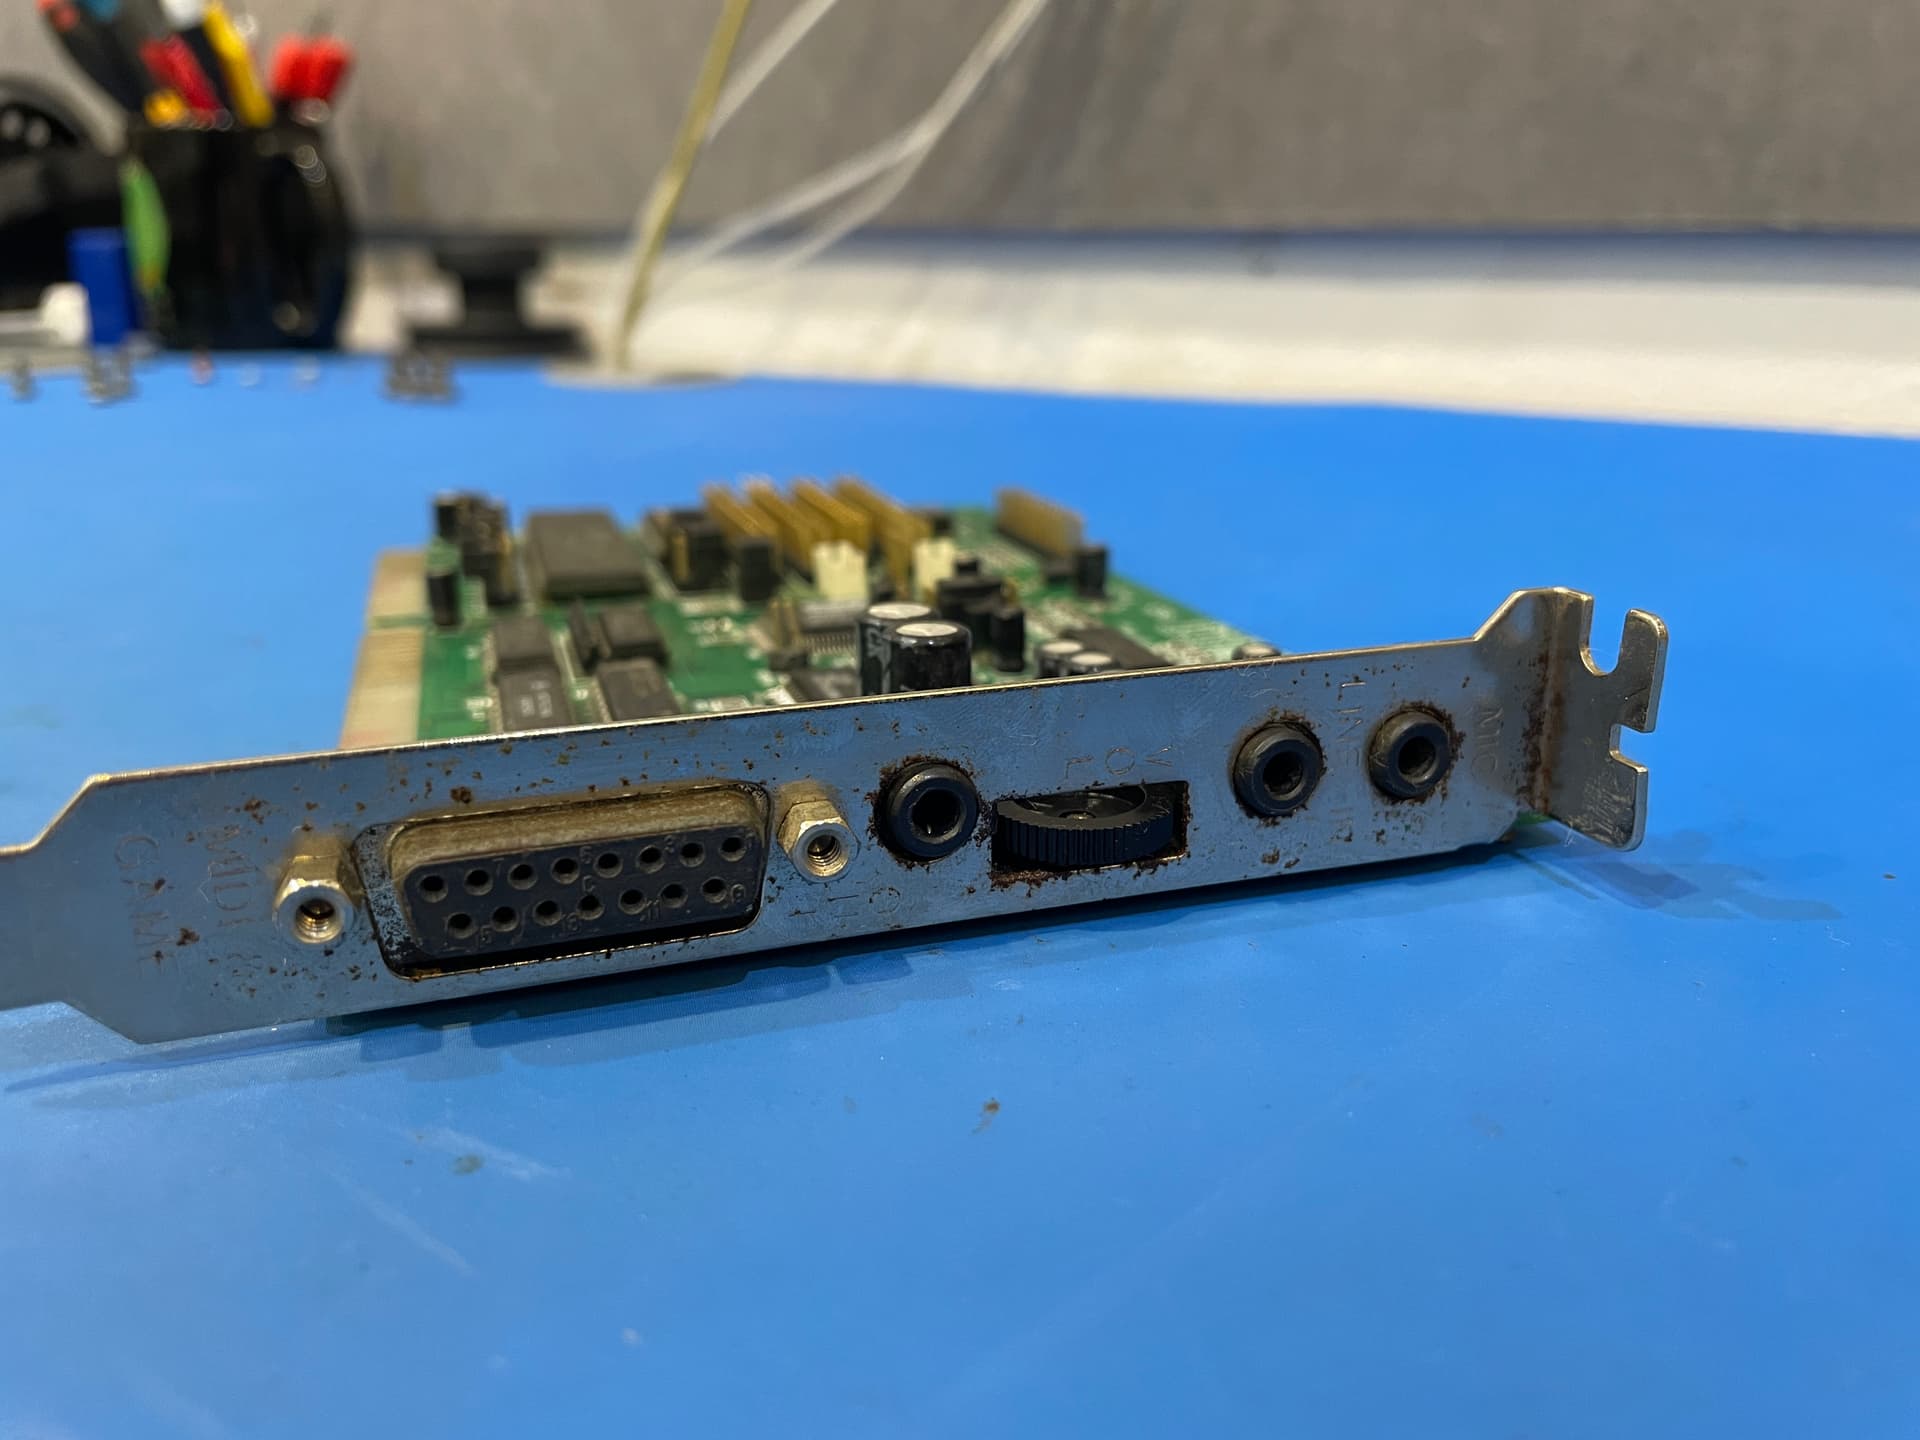
Quite a few steps ahead but it should be quite an enjoyable little project. Here’s some photos of the front and rear of the board as well as the ports.
With a bit of elbow grease, luck and hope, we might have this working before the month is out. 
2 Likes
With the failure to repair the Dasher for RetroChallenge 2022/10 we never got to test this card out. After a bit of a dig through Vogons it looks like we might have drivers if we did get it working.
The card itself looks to be a Miss Melody (ESS Audiodrive 688 / ES688) according to links one (photo credit) and two - both are non-english links so you might need a translator.
Found some capacitors that were appropriate.
Mostly Rubycon YX*, ZL* and Panasonic FR series.
We gathered the ingredients and gear needed for the ritual.
A wave of the wand, the Hakko 808 desolder gun, and the capacitors were removed.
We tend to reference Tom’s Hardware for capacitor tiers. Interestingly, the NCK brand we removed were nowhere to be seen.
We then removed the jumpers, after noting where they were installed. This shouldn’t be an issue though as we have those previously mentioned sites that give us a little more detail. If you are looking here in the future, you can try using archive.org to pull up the dead site.
1 Like
Next up, we mixed some bi-carb soda and water in a small bowl with a spoon.
We then applied the paste liberally.
Very liberally.
We scrubbed around a bit with a toothbrush. The idea is that bicarbonate soda is slightly abrasive not unlike toothpaste in the way it works on teeth.
1 Like
This is the fun bit. Washing the bicarbonate soda off with vinegar. Fizz indeed!
Afterwards you’re left with a board that needs a rinse with distilled water. We didn’t have distilled (demineralised) water so we used tap water.
Make sure you get behind the ears.
At this point we sprayed it with a bit of isopropyl alcohol to help with evaporation of the water from the ports and board, under the chips in particular.
Next we used a basic eraser to clean the golden fingers along the edge of the card to make them shine like new. This card already had pretty clean connectors.
Then onto the potentiometer that controls the volume at the rear of the card. Lubricating this will stop is making sudden pops and scratches.
We used CRC 2-26 but there are other chemicals out there that can do the same thing.
Leave to dry with the ports facing down for as long as possible. We left ours for about a week. That said, we did use a hair dryer to get some of the wetter water out of the ports too.
This was our game plan, we got most of it right. We still need to replace the capacitors and test.
2 Likes
We started installing the capacitors, one rating at a time. You might be able to see on here that only one leg is tacked down.
Here’s a close up.
With only one leg tacked down it helps us avoid wonky-looking capacitors. Miss Melody needs to look good so she can sing.
Excellently flat.

Next grab the pliers hidden in Craig’s drawer. He won’t be happy if he finds out so make sure you put them back afterwards. When I’m at home I just use a pair of toe nail clippers as they have the flat edge. They break after a while but do the trick. Expect to find stabby capacitor legs over your floor for the next 2-3 months.
I tend to clip them off as I go through each value that way I don’t end up with 20 legs poking me while trying to solder.
But when all is said and done, that’s a nice looking board in my book. Note the stickers mostly survived too, even through all that fizz.
The front of the board looks even better.
That’s one happy family of capacitors. Remember as far as brand-names are concerned I’ve updated my GitHub with a fork of the Capacitor Tier List.
All important jumper settings, currently all the jumpers are just open so that will need to be set by the first person who can actually use and test the card.
The silkscreen disagrees with the name of the chip. I think we can all agree that Miss Melody is a better name for now.
Some of the chips have date stamps which gives us an idea of when the card may have been produced. These have 9629 and 9619, indicating weeks 29 and 19 of 1996. This card was likely manufactured mid-late 1996.
There’s the brains of the operation. The ESS AudioDrive ES688F. You can learn a little more about the history of the ESS AudioDrive here.
That sums this up until someone can test the card in some actual hardware - like a 386, 486 or similar. I’ve given this back to @DigitalRampage so hopefully he can test it out or at least mark in a calendar to replace the capacitors in another 20-30 years. 
2 Likes