I’ve decided to enter the RetroChallenge 2021/10 and I chose to create a simple ROM replacement PCB design for my 1977 Heathkit ET-3400 Microprocessor trainer.
my RetroChallenge blog is at rev3ng.blogspot.com
I’ve decided to enter the RetroChallenge 2021/10 and I chose to create a simple ROM replacement PCB design for my 1977 Heathkit ET-3400 Microprocessor trainer.
my RetroChallenge blog is at rev3ng.blogspot.com
I’ve made quite a few updates on my retroChallenge entry. This is just a summary of what I’ve done so far:
details and lots of pictures on my blog.
next phase will be further tests and designing the PCB artwork.
I have added an extra challenge for myself after that’s all done just for a bit of 6800 7-segment LED display programming fun.
Mark C.
Since my last update I’ve done the following:
40 PCBs will be ordered soon, but not in time for the end of the RetroChallenge.
last thing I’m going to try in the remaining time is writing a small demo program in 6800 code to finish it off.
Mark C.
Great work Mark! Keep it up =)
I’ve added a few more posts and my final blog to my RetroChallenge entry.
Although my RetroChallenge blog is done, there is still more to do on my project. I have to order the PCBs and finish designing and building the programming adaptor.
Fantastic work! Look forward to see what happens in the future.
thanks for the awesome information.
A short follow up on my project…
I’ve had 40 PCBs made and delivered in early January. I put the first one together with a pre-programmed AT28C64 SOIC-28 EEPROM, since I haven’t made the programming adapter yet.
It’s been running fine for the last 7 weeks and here is a few pictures of the end result.
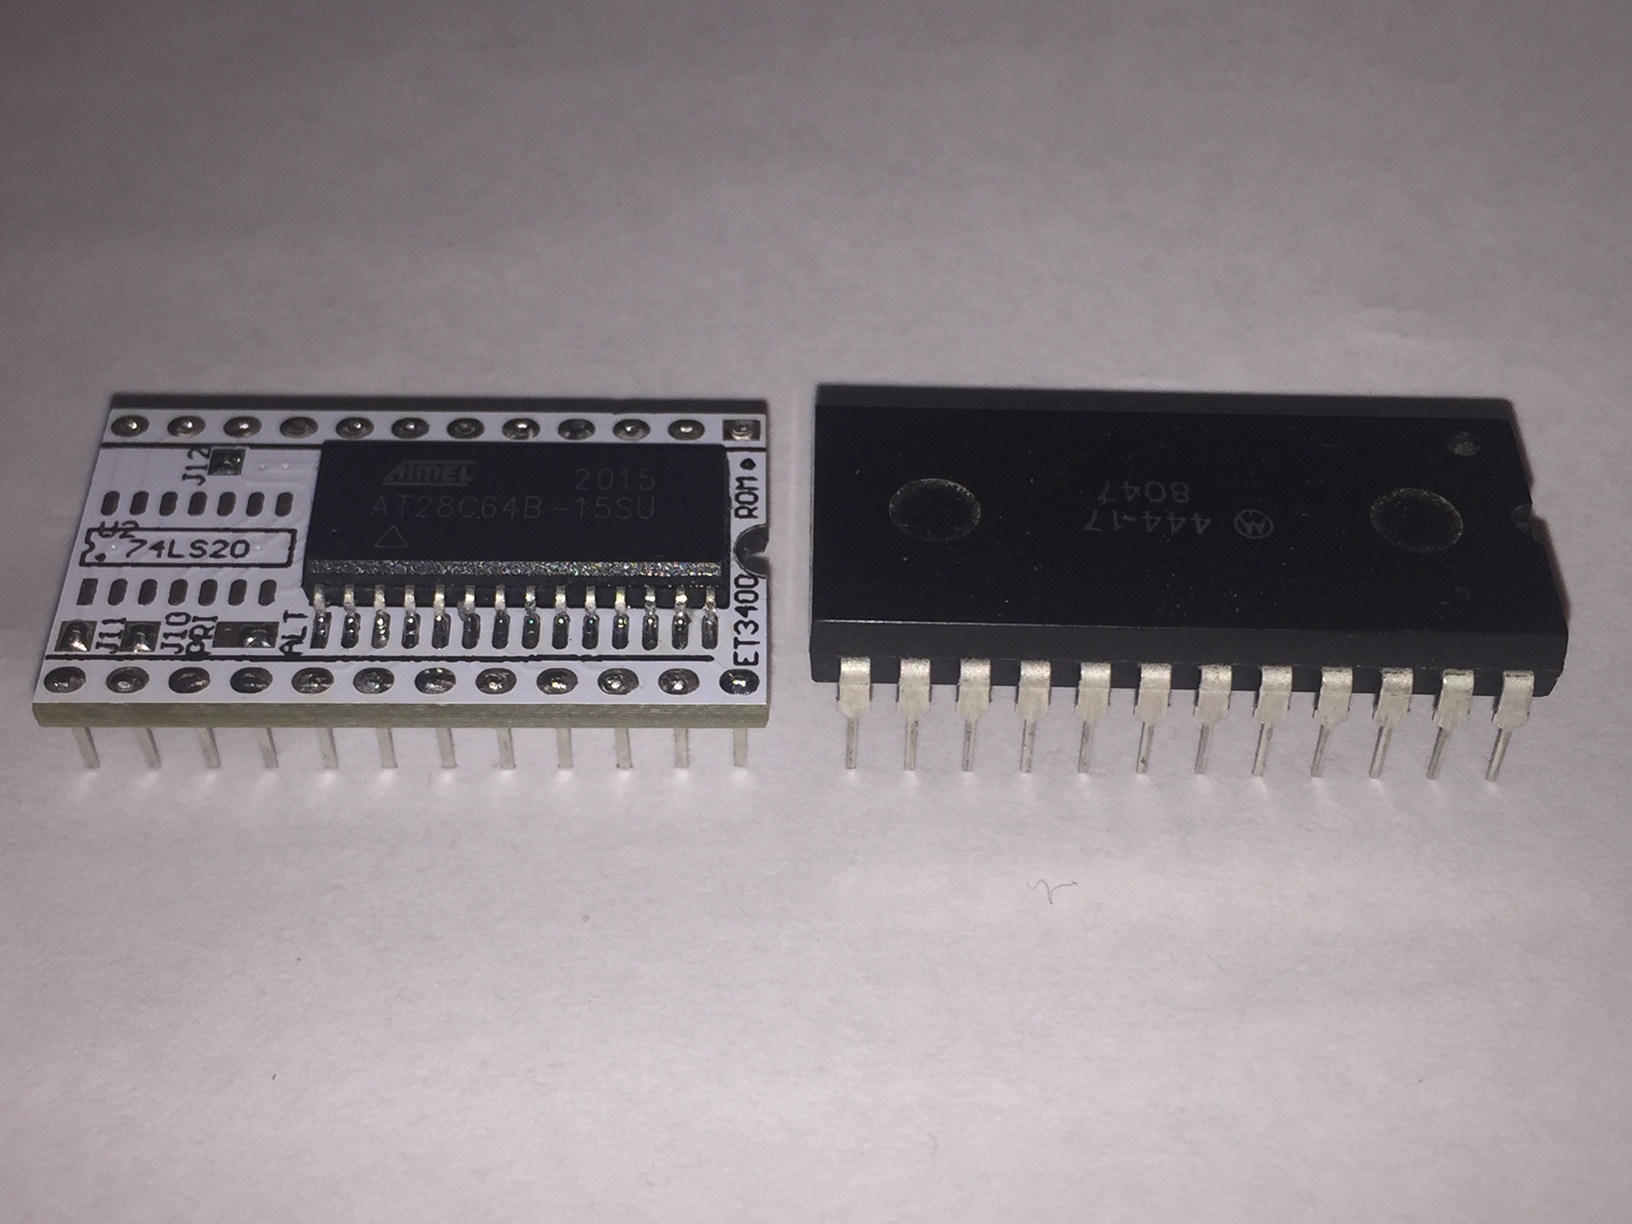
close up showing low profile lead frame pins vs standard ROM:
74LS20 fitted, installed in ET-3400 and running:
I haven’t ordered the programming adapter PCB yet as I’ve been working on a couple of other projects. So the only way to program this at present is to do it before soldering on the EEPROM.
regards,
Mark C.