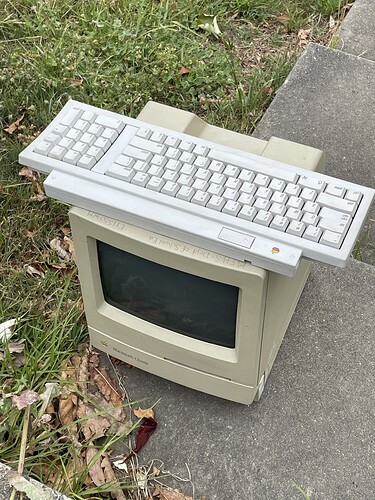
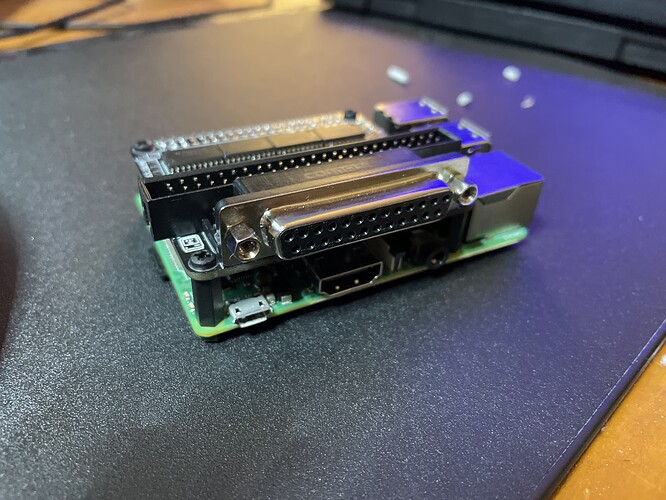
For the Retro Challenge I will be restoring an old Macintosh Classic and upgrading the Hard Drive with a Rascuzzi.
Fantastic - can’t wait to see how it goes. I love how these old machines just keep on keeping on.
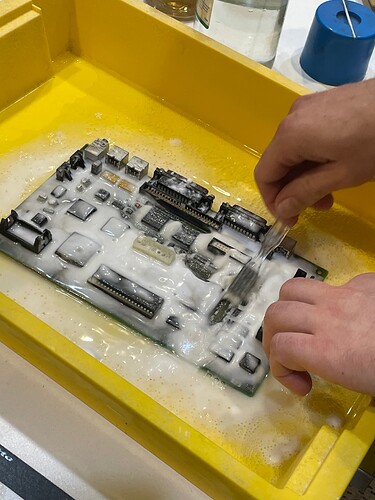
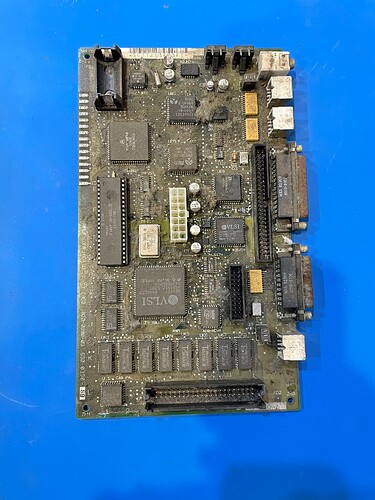
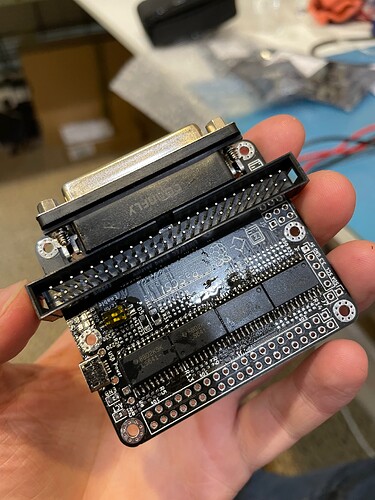
Here’s a couple photos of the early stages of the restoration, cleaning years of caked gunk from the board, also the RaSCSI starting to be put together.
Here’s the details of the WOzFests I’m holding - feel free to join via Google Meet.
And I might even be able to have 10 attendees at WOzFest 22!
hi Pendleton115,
wow, that is some serious dust bunnies going on there. take care of those aluminium electrolytic caps by swapping them out while you are at it, they will eat your tracks if they haven’t done so already.
good luck and I’m keen to see how the rascuzzy works even if you don’t get that Classic board working.
good luck,
Mark C.
Howdy,
I’m also interested in that RaSCSI progress, did you have any luck @Pendleton115?
Errr are those SMD solder pads I see? 
Sorry for the lack of updates here! The project has taken longer than originally anticipated, even though it’s too late for the retro challenge I’d still like to share my progress as things are slowly nearing completion.
1: RASCSI:
The RaSCSI was turned out to be a bit of a nightmare to get working correctly, thankfully the cause of our problems was found to be a defective “Dog Chip” (We call them that because the silkscreen of the PCB has little dogs underneath these chips). Once the chip was replaced the RaSCSI fired right up and was detected by my Macintosh Classic (I managed to get it booting, I’ll get to that in a bit). Massive thanks to Jon and ShaneMcRetro on the forum for helping my assemble, troubleshoot and build the RaSCI, the project would have been dead in the water without them!
2: Macintosh Classic:
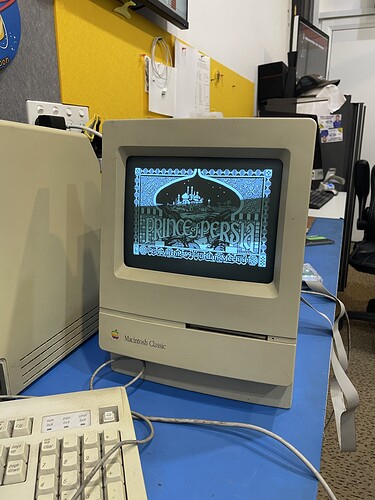
The Macintosh Classic needed a good clean inside and out, after replacing all badly affected caps on the Logic Board and Analog Board the machine fired to life! The damage to the analog board was quite extensive but nothing that some elbow grease and time couldn’t clean off.
3: Retrobrite
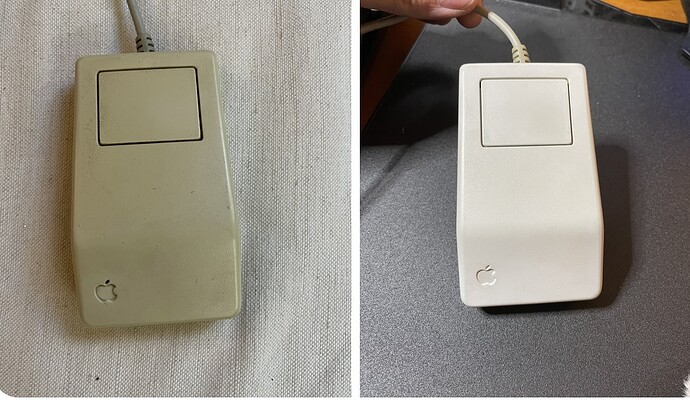
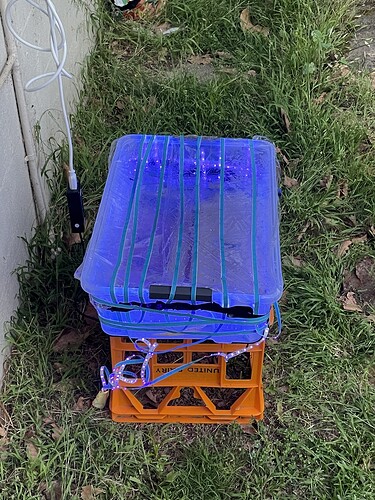
I know this subject can be a bit controversial for some, but I wanted to experiment with Retrobrite as I have never done it before, after looking at different methods online I came to the conclusion that fully submersing the plastic in a mixture of water and Hydrogen Peroxide was the best way to get consistent results.
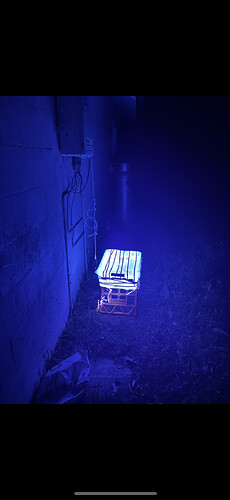
I tried both leaving the tub in the sun as well as covering it in UV LED Strips overnight, and found that the UV strips gave me the most consistent results, although it takes a bit longer for the process to occur with the strips I used. (I had to bath my plastics for approximately 24 hours to get the result I wanted)
So far I have successfully Retrobrited the Keyboard and Mouse and I plan to do the Classic Case this weekend.
That’s everything for now, but I’ll try and keep this page updated with my progress. Once the project is complete I plan on uploading the full process on my YouTube channel.
Cheers!
Wow @Pendleton115 that is incredible work! Several questions for you:
-
RaSCSI is a very neat little project. What were the rough costings for components and PCB production? Were they all available off the shelf?
-
I see you are a Prince of Persia fan! How do you get past those pesky spikes at the beginning? I always end up falling down on them! It’s a very short game when I play it.
-
Now that your Macintosh Classic is functional, what OS will you be installing? Do you have a favourite?
-
What strength of hydrogen peroxide did you start with and what ratio of hydrogen peroxide to water did you end up mixing?
Great work @Pendleton115 - A classic little retro challenge to have achieved. I hope you enjoy the spoils =)
hi Pendleton115,
I’ve decided to build several BlueSCSI devices from individual components and pcbs for my compact Mac collection and other 68K Macs I own. They seem to be a lot cheaper than other options. I was interested in the RaSCSI too, but haven’t found out where to get them in Oz. Where did you get yours from.
Mark C.
Hi Mark!
The RaSCSI files are available online, you can get the PCB’s manufactured at a local PCB manufacturer and then you will have to assemble them yourself. That is what I had to do for mine.
Hope this helps!
Ended up taking a little longer than initially Expected, but the good news is my Macintosh Classic is finally restored and is now fully operational.
I’ve detailed my process in a YouTube video that you can check out here! TRASH to TREASURE - Macintosh Classic Restoration - YouTube
